
Schlagwort: DockerCompose
-

n8n – Installation leicht gemacht
In diesem Beitrag zeige ich, wie du n8n mit Docker und Docker-Compose installierst und startklar machst. Du lernst, welche Umgebungsvariablen wichtig sind, wie man n8n über die WebGUI registriert und absichert, und wie man Redis…
-
BookStack als Docker Container mit Upload Limit Erweiterung
BookStack, das heimische Wiki um z.B. seine Einstellungen am Server oder an der Zentralheizung zu Dokumentieren. In diesem Beitrag installieren wir BookStack als Docker Container und setzen das Upload Limit höher.
-
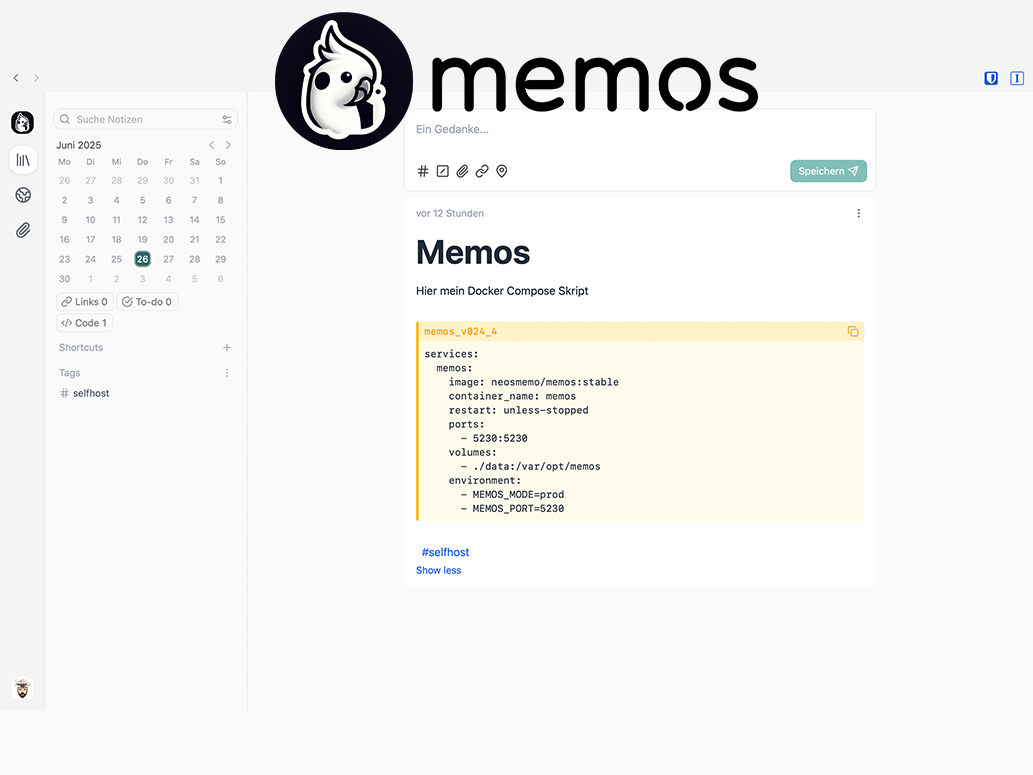
Memos: Notizen neu gedacht
Memos ist eine schlanke Notizen Anwendung auf Docker basierend die einiges anders macht.
-
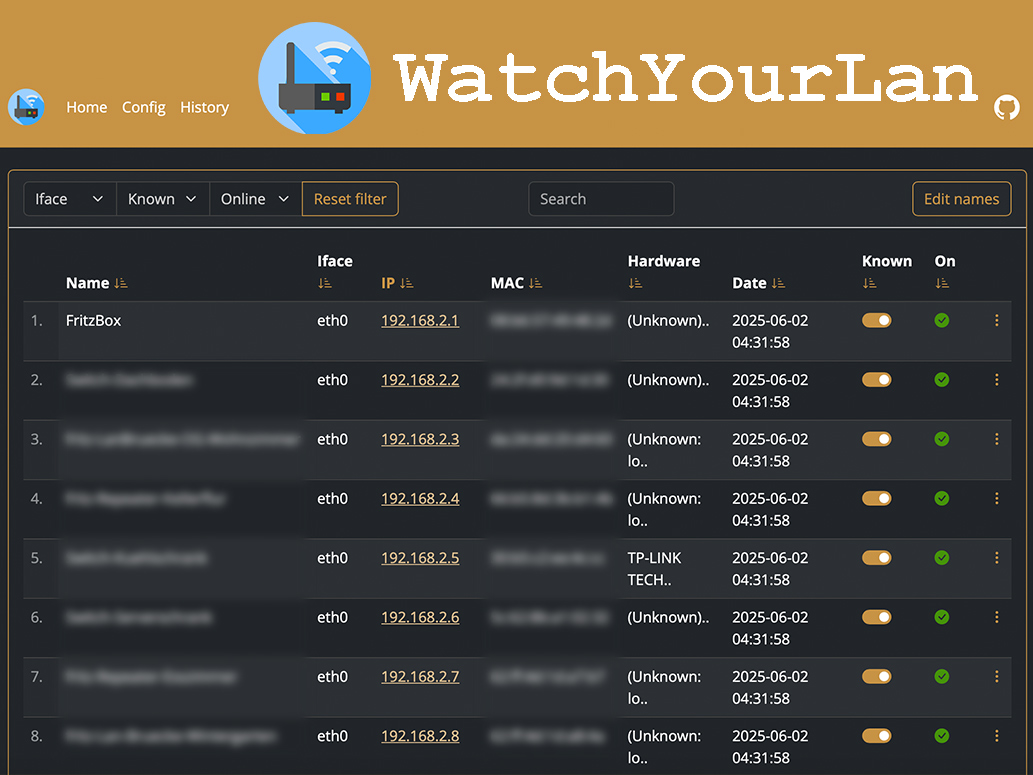
WatchYourLan
WatchYourLan ist ein schlanker IP Scanner auf Docker Basis im eigenem Netzwerk. Er hilft mir, einen Überblick im Heimischen Netzwerk zu behalten und benachrichtigt mich, wenn ein neues Gerät sich in meinem Netzwerk anmeldet. Wie…
-
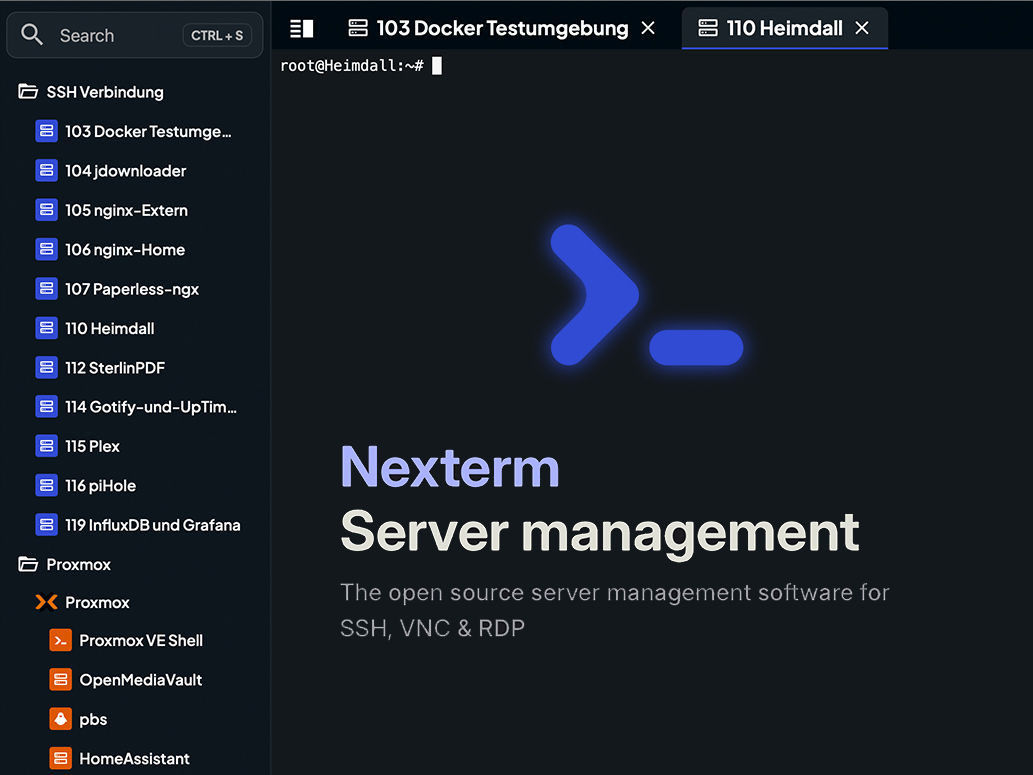
Nexterm – Die Open-Source-Serververwaltungssoftware für SSH, VNC & RDP
Nexterm ist eine Webbrowser basiertes ssh Terminal. Der Vorteil liegt darin, dass du z.B. Proxmox mit Nexterm verbinden kannst und schnell in die einzelnen VM’s und LCX’s springen kannst. Nicht nur ssh Verbindungen sind möglich,…
-
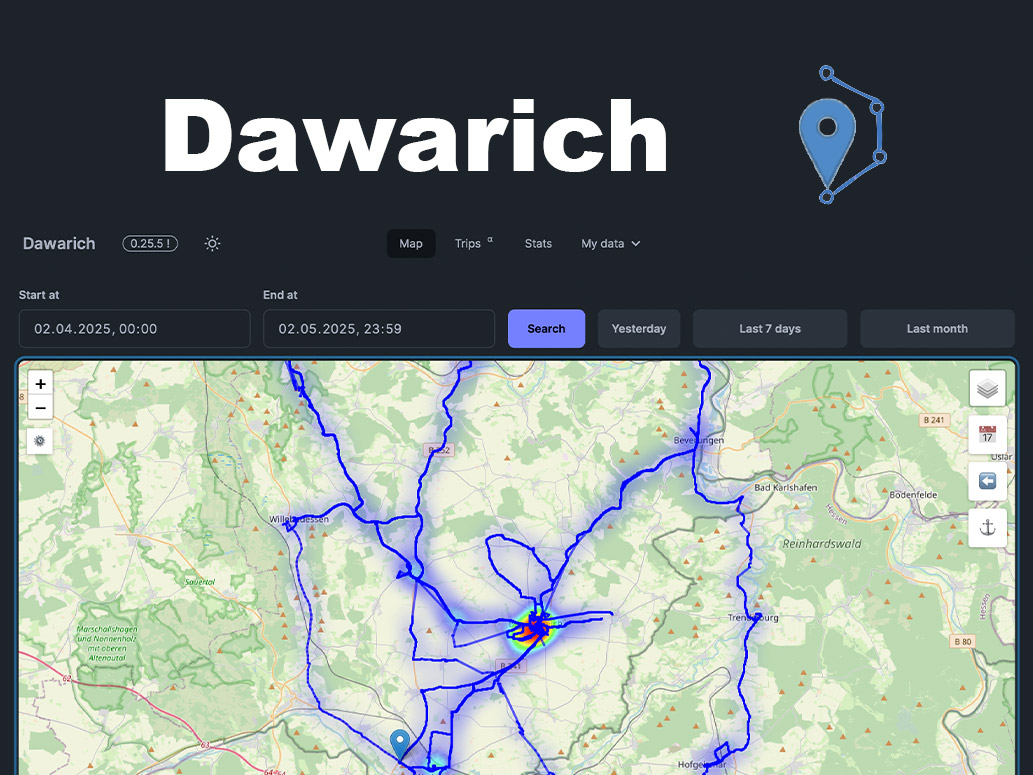
Dawarich – Self-Hosted mit Docker
Dawarich ist die Self-Hosted Variante zu Google Location History. Ein spannendes Projekt um zu schauen >>wo war ich wann
-
Gitea – dein Git im Homelab
Gitea ist ein leicht gewichtiges Git was schnell und einfach unter Docker zu installieren geht. Wer einen zentralen Ort für seine Skripte sucht, wird mit Gitea glaube ich glücklich.
-
GitLab unter Docker
Wer mit Codes zu tun hat, kommt früher oder später mit Git in Berührung, meist GitHub. Doch wäre es nicht cool ein eigenes Git zu besitzen? GitLab macht es möglich. Ich zeige dir hier die…
-

Notion Alternative Anytype (Self-host)
Ich habe bereits von Docmost als Notion Alternative geschrieben und Docmost ist auch eine tolle Alternative. Docmost ist im Vergleich zu Notion schlank und übersichtlich. Doch wer mehr Funktionen benötigt, wird wohl immer wieder zu…
-
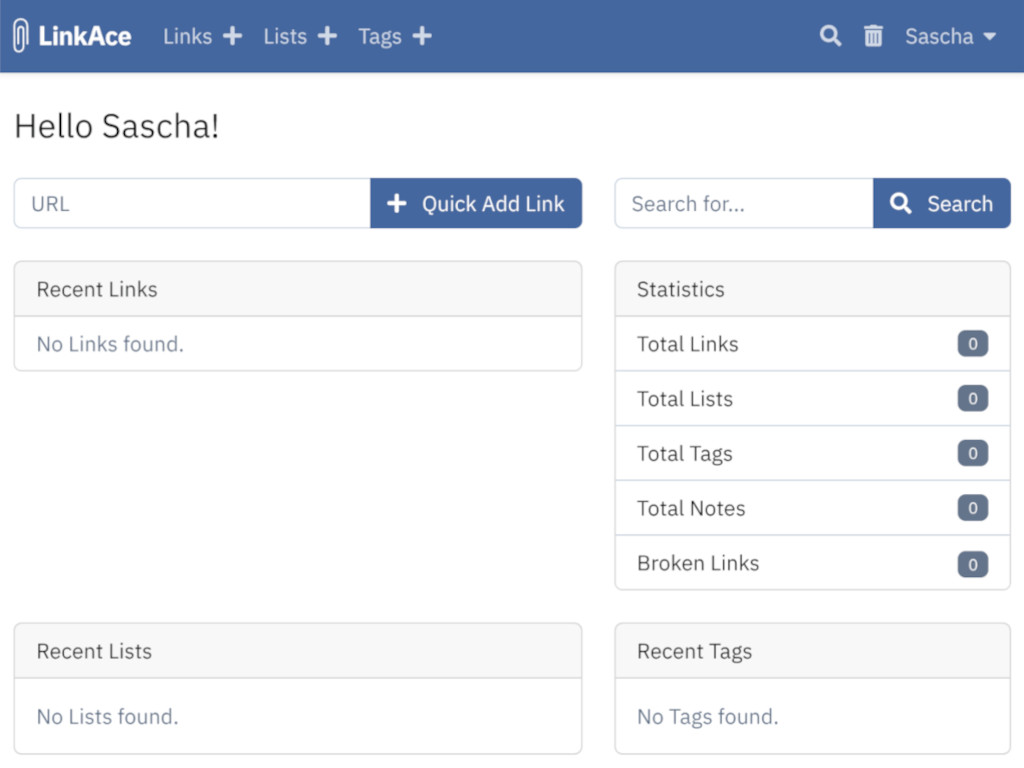
LinkAce ist in Version 2.0 verfügbar
LinkAce ist ein selbst gehostetes Lesezeichenarchiv welches Kostenlos und Open Source ist. Ich habe es bereits schon einige Zeit im Einsatz und finde es sehr übersichtlich und schick. Seit kurzem ist Version 2 zu haben.